Table of Contents
ToggleAdding a security camera to your home is one of the smartest investments you can make for peace of mind. Whether you’re monitoring your front porch, driveway, or backyard, a well-placed security camera deters theft and gives you eyes on your property 24/7. The good news? You don’t need to hire a professional, most homeowners can handle the installation in an afternoon with basic tools and a little patience. This guide walks you through choosing the right camera, gathering materials, and installing it correctly so it works reliably for years.
Key Takeaways
- Installing a security camera yourself is achievable in an afternoon with basic tools, proper planning, and attention to detail—no professional needed.
- Choose between wired cameras for rock-solid reliability and wireless options for faster, easier setup, depending on your home’s layout and technical comfort level.
- Proper placement at 8–10 feet high with a clear line of sight, combined with secure mounting and weatherproof sealing, ensures your security camera performs reliably for years.
- Security cameras act as powerful theft deterrents and provide evidence for investigations while enabling you to monitor deliveries, pets, and visitors in real time.
- For wired systems, weatherproofing all connections and labeling cables saves you from costly water damage and makes future troubleshooting much simpler.
- Budget mid-range cameras ($150–400) offer the best balance of resolution, field of view, and smart features for most homeowners looking to install surveillance.
Why Home Security Cameras Matter
A visible security camera is one of the strongest deterrents to theft and break-ins. Studies show that homes with cameras, especially outdoor ones, are far less likely to be targeted by burglars. Beyond prevention, cameras provide evidence if something does happen, which helps police investigations and can support insurance claims.
But security cameras do more than watch for crime. They let you check on deliveries, monitor pets or children in the yard, and see who’s at your door before you open it. Modern cameras are smart devices that integrate with your phone, so you get instant alerts when motion is detected. Installation itself is straightforward if you plan properly and choose equipment that fits your needs and technical comfort level.
Choose the Right Camera for Your Needs
Before you buy anything, decide what you actually need to monitor. Are you covering a single entry point or multiple angles? Do you need night vision, local storage, or cloud recording? Is weather resistance critical, or will your camera live under an eave?
Budget matters too. Budget cameras run $50–150 and handle basic motion alerts and recording. Mid-range cameras ($150–400) add better resolution, wider fields of view, and smarter features. Premium models ($400+) offer 4K resolution, advanced AI detection, and professional integration options. For most homes, a mid-range wired or wireless camera is the sweet spot.
Wired vs. Wireless Options
Wired cameras run power and data through a single cable (usually Cat5e or Cat6 Ethernet) from your router or a networked recorder. They’re rock-solid reliable, no Wi-Fi dropouts, no battery worries. Installation is more involved because you need to run cable, drill holes, and sometimes fish wire through walls. But once installed, they just work. Wired systems are ideal for permanent outdoor cameras where reliability matters most.
Wireless cameras draw power from batteries or a small power adapter and connect via Wi-Fi. Setup is faster, mount the camera, add it to your app, and you’re done. The tradeoff is Wi-Fi dependency. Weak signals mean missed alerts or dropped feeds, and you’ll replace batteries periodically. Wireless works great for temporary monitoring, renters who can’t modify walls, or supplemental cameras. Popular wireless options include battery-powered ring doorbells and spot cameras that pair with hubs for redundant connectivity.
Consider five key considerations for outdoor security cameras, including weather resistance, power options, and Wi-Fi strength, before finalizing your choice.
Tools and Materials You’ll Need
Grab these before you start:
Tools:
• Drill/driver with bits (including masonry bits if mounting on brick or concrete)
• Level
• Tape measure
• Stud finder (optional but handy for finding solid mounting points inside)
• Fish tape or wire pusher (for running cables through walls)
• Screwdrivers (Phillips and flathead)
• Ladder or step stool
• Small flatpry bar (for gently opening cable runs)
Materials:
• Your security camera (wired or wireless)
• Mounting bracket and hardware (usually included)
• Ethernet cable (for wired cameras: run extra length to avoid cutting)
• Power adapter and cable (check if already on camera)
• Weatherproof caulk (silicone, not acrylic)
• Cable clips or conduit (outdoor installations)
• Surge protector or UPS (optional but smart for wired systems)
Safety gear:
• Work gloves
• Safety glasses (especially when drilling overhead)
• Dust mask (when drilling into drywall or masonry)
Read your camera’s manual before buying, some have proprietary connectors or unusual power requirements that’ll affect what else you need.
Step-by-Step Installation Process
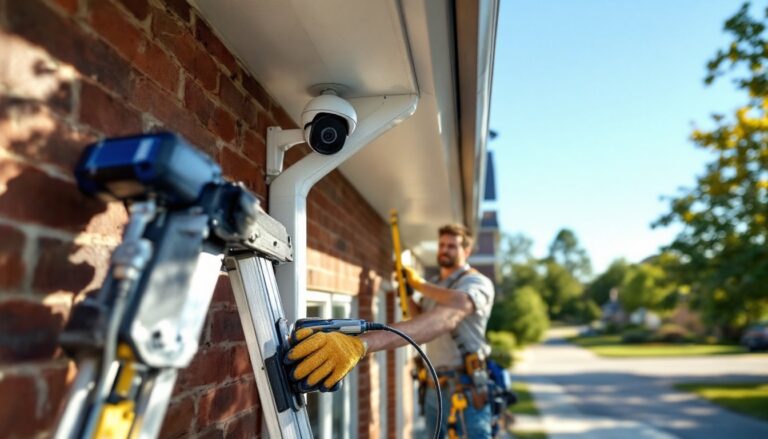
Positioning and Mounting
1. Choose your mounting location. Aim for 8–10 feet high on a wall or soffit, with a clear line of sight to the area you’re monitoring. Avoid aiming directly into bright sun (glare washes out footage) or heavy shade (low light degrades video). Test the camera’s angle using your phone if it’s wireless, most let you preview the feed in the app before permanent installation.
2. Check mounting surface. If you’re attaching to wood fascia, siding, or trim, a standard wood screw and bracket work fine. For brick, concrete, or metal, use the appropriate anchors or fasteners. Pre-drill holes slightly smaller than your screw diameter to avoid splitting wood or cracking masonry. If the camera is heavy or your wall is questionable, locate a solid stud or use heavy-duty anchors rated for the camera’s weight.
3. Install the bracket. Use a level to ensure the bracket is plumb and true. An off-angle camera looks sloppy and may miss important areas. Tighten all hardware, but don’t over-tighten, you’ll strip threads or crack plastic mounts. Mount the camera to the bracket: most use a simple ball joint or quick-release that locks in place once angled correctly.
4. Seal gaps. Once mounted, caulk any gaps between the bracket and wall with weatherproof silicone. This keeps rain and insects away from your mounting hole. Don’t caulk the camera lens itself, let it breathe.
Connecting Power and Network
For wireless cameras:
- Plug in the power adapter (or charge the battery, if battery-powered).
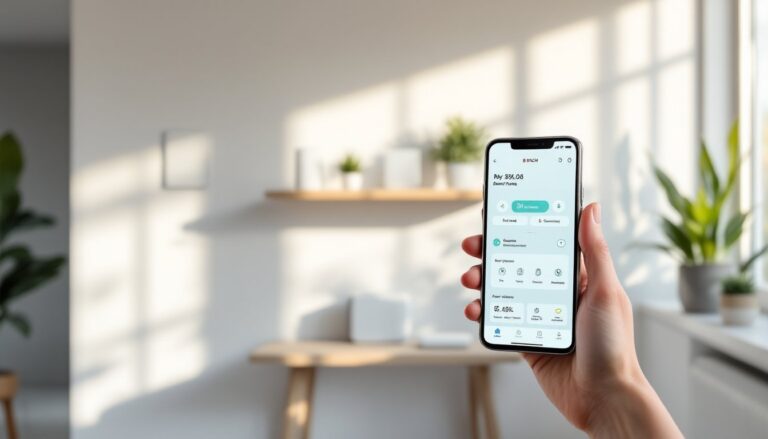
- Download the camera’s app and create an account.
- Add the camera by scanning its QR code and following in-app prompts.
- The app guides you through connecting to your home Wi-Fi. Make sure your Wi-Fi signal is strong where the camera sits: if signal drops below two bars, consider moving your router or adding a mesh network.
- Test the live feed and adjust notification settings (motion alerts, recording preferences).
For wired cameras:
Wired installation takes more effort but pays dividends in reliability.
-
Route cable from your recorder or PoE (Power over Ethernet) injector to the camera. Run cable along walls, under eaves, or through cable conduit, never leave it dangling where weather or animals can damage it. If you must drill through a wall, use a grommet to protect the cable from sharp edges. Fish the cable carefully: kinks or crushes degrade signal.
-
Connect the Ethernet cable to the camera’s RJ45 port. The connector should click into place. Verify your camera came with a PoE injector or that your recorder has PoE ports, this feeds both power and data through one cable. If your camera requires separate power, connect the power adapter at the camera or run an AC power line nearby (check local codes: this may require a permit or licensed electrician if run more than 6 feet).
-
Connect the other end of Ethernet to your recorder or network. Go to your recorder’s setup menu (or network settings on your computer) and add the camera by IP address. Most modern systems auto-detect. Follow the recorder’s app or web interface to configure motion detection, recording schedules, and storage options.
-
Test the connection. View live feed from the recorder’s screen or app. Adjust the camera angle if needed, it’s much easier while you’re still at the ladder. Make sure audio (if equipped) works both ways if needed.
-
Weatherproof all connections. Wrap Ethernet connectors in a weatherproof box or housing. If power cable is exposed, use low-voltage wire rated for outdoor use and seal entry points with caulk. Don’t skimp here, water in a connector kills a camera fast.
Pro tip: Label your cables at both ends with tape and a marker. Future troubleshooting is infinitely easier when you know which cable goes where.
Research current smart home technology news and home automation reviews to stay informed on the latest camera features and integration options as you finalize your setup. Also, product reviews and home tech advice offer detailed comparisons of popular models and installation feedback from real users.
Installing a security camera is an afternoon well spent. Whether you choose wired reliability or wireless convenience, proper placement, secure mounting, and attention to weatherproofing ensure your camera works dependably for years. Start with one camera, get comfortable with the process, and expand if needed. You’ve just made your home measurably safer, and you did it yourself.