
Table of Contents
ToggleHardwiring a Ring Doorbell eliminates the need for battery replacements and ensures your doorbell stays powered 24/7, a significant upgrade from the battery-powered model. If you’ve got an existing doorbell already connected to your home’s electrical system, you’re in luck: the hardwiring process is straightforward for most homeowners. This guide walks you through everything from shutting off power to testing your new installation, so you can secure your front door with confidence.
Key Takeaways
- Hardwiring a Ring Doorbell provides 24/7 power and eliminates battery replacements, making it a reliable upgrade for continuous monitoring and live view access.
- Most homes built after 1960 already have compatible 16V–24V AC transformers installed, making the hardwiring process straightforward for most homeowners.
- Always turn off power at the breaker and use a non-contact voltage tester before touching any wires to ensure your safety during installation.
- The Ring Doorbell must connect to a 2.4GHz Wi-Fi network; if connectivity issues arise, move your router closer or upgrade to a mesh system for better coverage.
- Test your hardwired installation by pressing the doorbell button and confirming the chime, app notification, and video feed all activate without lag.
- If your transformer reads below 16V AC or the device reboots intermittently, consult a licensed electrician to upgrade or repair your transformer.
Understanding Ring Doorbell Hardwiring Basics
A hardwired Ring Doorbell connects directly to your home’s existing doorbell transformer and wiring, drawing power continuously instead of relying on a rechargeable battery. This setup keeps your doorbell always on, supports continuous live view, and eliminates the worry of a dead battery mid-emergency.
Most homes built after 1960 already have a doorbell transformer installed, typically an 8V or 16V unit hidden in a closet, basement, or attic. If your house has an old mechanical doorbell, the wiring is already in place and ready to repurpose. The Ring Doorbell works with 16V to 24V AC transformers, so compatibility is rarely an issue. But, if your existing transformer is underpowered or damaged, you may need to install a new one, a job best left to a licensed electrician if you’re not comfortable working with electrical circuits.
What You’ll Need Before Getting Started
Materials
- Ring Doorbell Pro or Wired model (confirms compatibility with 16V–24V transformers)
- Doorbell transformer (if your current one is faulty or absent: 16V–24V AC, at least 10VA recommended)
- 18-gauge or 14-gauge electrical wire (for running between transformer and doorbell: length depends on distance)
- Wire connectors (twist-on or push-fit types rated for low-voltage)
- Weatherproof trim ring (Ring’s optional accessory for finishing the wall opening)
Tools
- Screwdriver set (flathead and Phillips)
- Wire strippers to expose about 3/4 inch of conductor
- Voltage tester (non-contact tester or multimeter) to confirm power is off
- Drill with bits (if you need to fish wire through walls)
- Flashlight or headlamp
Safety Gear
- Gloves (work gloves for handling wire and old fixtures)
- Goggles (if drilling or working overhead in confined spaces)
- Mask (dust mask if working in attics or dusty areas)
Preparing Your Existing Doorbell System
Start by locating your existing doorbell transformer, check basements, utility closets, furnace rooms, and attics first. Once found, turn off power at your home’s main breaker or breaker panel dedicated to low-voltage circuits. Before touching anything, use a non-contact voltage tester on the transformer terminals to confirm power is truly off. This step is non-negotiable.
Next, remove your old doorbell button from the wall and note which wires are attached. You’ll typically see two wires twisted together or inserted into a connector block. Take a photo with your phone before disconnecting them, this reference photo saves headaches later. Gently disconnect the old button, leaving the wires long enough to work with (at least 6 inches of exposed length). If the wires are corroded, brittle, or damaged, you may need to run entirely new cable from the transformer to the doorbell location, which means fishing wire through walls or conduit, a time-consuming but manageable task.
The Hardwiring Process
With power off and your old doorbell removed, follow these steps:
-
Strip the existing wires. Use wire strippers to remove about 3/4 inch of insulation from the ends of the two wires coming from your doorbell hole.
-
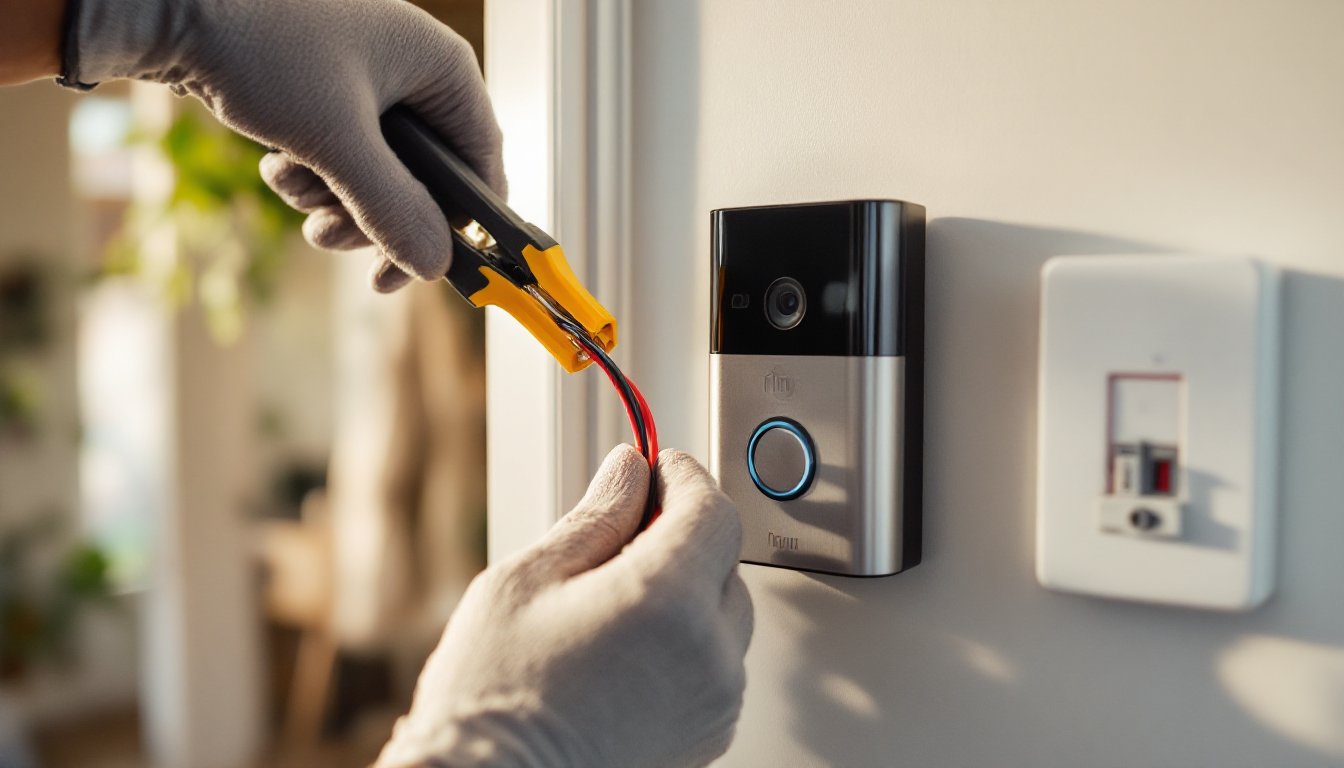
Connect wires to the Ring Doorbell. The Ring’s wiring terminals are clearly labeled: one terminal accepts the positive (hot) wire, the other accepts the negative (common) wire. Loosen the terminal screws slightly, insert each stripped wire into its terminal, and tighten the screw firmly. Tug gently on each wire to confirm it’s secure.
-
Mount the Ring Doorbell. Align the mounting bracket with your doorbell hole and secure it with the provided screws. If the hole is undersized or misaligned, use a drill to enlarge it carefully, stop before cracking the exterior casing.
-
Attach the Ring device to the bracket and tighten all connections. The device should sit flush against your door frame or wall surface.
-
Verify connections at the transformer. Head to your transformer and confirm the two wires running to your doorbell are securely connected to the transformer terminals (usually labeled “front” or “bell” and “common” or “return”). If wires are already in place, do not disturb them, the Ring will use the existing circuit. If you’re running new wire, connect the pair to the transformer terminals with wire connectors rated for low-voltage circuits.
-
Turn power back on. Flip the breaker back to the ON position and listen for a brief chime or beep from the Ring as it powers up.
Connecting to Your Wi-Fi Network
Once the Ring is hardwired and powered, the device will boot up. Open the Ring app on your smartphone and log in to your Ring account. Tap the + button to add a new device and select “Ring Doorbell Pro” (or whichever model you installed). The app will prompt you to scan a QR code on the device itself or enter the device ID manually.
Follow the app’s instructions to connect the Ring to your home Wi-Fi. The doorbell must be on a 2.4GHz network (most modern routers broadcast both 2.4GHz and 5GHz: check your router’s admin panel if unsure). Once connected, the app will display the live video feed. Test the doorbell button to ensure the chime sounds on your phone and any hardwired chime speakers in your home. A step-by-step guide on hardwiring a Ring doorbell offers additional troubleshooting if your connection stalls.
Testing and Troubleshooting Your Installation
After Wi-Fi setup, test your installation thoroughly. Press the doorbell button and confirm the chime sounds, the app sends a notification, and the video feed activates without lag. If the button doesn’t chime, recheck the wire connections at both the doorbell and the transformer to ensure they’re snug and fully seated.
If the device disconnects from Wi-Fi repeatedly, move your router closer to the doorbell or upgrade to a mesh Wi-Fi system that extends coverage to your entry. Weak signal is the most common culprit for connectivity issues. For voltage-related problems, the device powering off intermittently or rebooting, measure the voltage at your transformer using a multimeter. It should read between 16V and 24V AC. If it’s below 16V, your transformer may be undersized or failing: consult a licensed electrician about upgrading it.
Building codes vary by jurisdiction, so check your local building authority if you’re uncertain whether a permit is required for adding low-voltage hardwiring. In most cases, hardwiring an existing doorbell circuit doesn’t trigger permitting, but retrofit work that involves new transformer installation sometimes does. A resource like Popular Mechanics offers broader guidance on when to call a pro versus tackling upgrades yourself.
Conclusion
Hardwiring your Ring Doorbell is a project most homeowners can complete in 1–2 hours, provided your existing doorbell system is intact and your transformer is in good condition. The payoff, continuous power, no battery swaps, and reliable 24/7 monitoring, makes it well worth the effort. Follow each step carefully, prioritize safety by killing power and testing for live current, and don’t hesitate to hire a licensed electrician if transformer work or new wiring is needed.